Posted on 18 Aug 2015
At work we’ve been doing a project that finally lets me use something past Java 6 (I’m looking at you Android.) I’ve been really loving it, it’s great to be able to use static features with significantly less cruft due to new features of the language.
Streams And Lambdas
Yesterday I started using streams and I really dig it. They feel very similar to ruby’s Enumerable methods. Lambdas get pulled into this because if you use streams you kinda have to use lambdas to get the full use of them.
List<Character> characters
List<String> names = characters.stream()
  .map(character -> character.getName())
  .collection(Collectors.toList());
This may still seem longer than doing it in ruby, but compared to what it used to be in Java 6 this is great. We’re also still in a fairly verbose language so we can’t cut down everything.
Switch Statements with Strings
This doesn’t seem like that great of a thing, and may not be the best way to use a switch statement, but trust me it is. After coming from ruby where you can put anything in a case state, needing to use a big blob of if statements if you had a string was super annoying.
switch (value) {
  case "hello":
    System.out.println("Hello");
    break;
  case "world":
    System.out.println(", world!");
    break;
}
IntelliJ
This one is sort of cheating because you can use IntelliJ with Android, but I’ve started using more of its features recently and I’ve really started liking it. I’ve been using Junit 4 with this project and the integration with that is really nice. Gradle is super easy and is pretty similar to bundler and rake mushed together.
Conclusion
If you haven’t tried out Java in a while, I definitely suggest a look back. Go download the latest IntelliJ and OpenJDK 8. I am going to look into using Dropwizard for a new project sometime soon.
Posted on 29 Jul 2015
For a side project at work we needed to get a simple SSL endpoint in front of Bosun. I went about this by sticking Nginx inside of a docker container with a self-signed root certificate. I picked a self-signed root certificate because we didn’t want to pay for a trusted certificate for a small project and creating our own trust completely worked out well for the project.
Generate the root certificate and certificates
This is taken from ruby documentation as it was the easiest way I found to generate a root certificate.
require 'openssl'

root_key = OpenSSL::PKey::RSA.new 2048 # the CA's public/private key
root_ca = OpenSSL::X509::Certificate.new
root_ca.version = 2 # cf. RFC 5280 - to make it a "v3" certificate
root_ca.serial = 1
root_ca.subject = OpenSSL::X509::Name.parse "/DC=org/DC=ruby-lang/CN=Ruby CA"
root_ca.issuer = root_ca.subject # root CA's are "self-signed"
root_ca.public_key = root_key.public_key
root_ca.not_before = Time.now
root_ca.not_after = root_ca.not_before + 2 * 365 * 24 * 60 * 60 # 2 years validity

ef = OpenSSL::X509::ExtensionFactory.new
ef.subject_certificate = root_ca
ef.issuer_certificate = root_ca

root_ca.add_extension(ef.create_extension("basicConstraints","CA:TRUE",true))
root_ca.add_extension(ef.create_extension("keyUsage","keyCertSign, cRLSign", true))
root_ca.add_extension(ef.create_extension("subjectKeyIdentifier","hash",false))
root_ca.add_extension(ef.create_extension("authorityKeyIdentifier","keyid:always",false))
root_ca.sign(root_key, OpenSSL::Digest::SHA256.new)

key = OpenSSL::PKey::RSA.new 2048
cert = OpenSSL::X509::Certificate.new
cert.version = 2
cert.serial = 2
cert.subject = OpenSSL::X509::Name.parse "/CN=example.com"
cert.issuer = root_ca.subject # root CA is the issuer
cert.public_key = key.public_key
cert.not_before = Time.now
cert.not_after = cert.not_before + 1 * 365 * 24 * 60 * 60 # 1 years validity
ef = OpenSSL::X509::ExtensionFactory.new
ef.subject_certificate = cert
ef.issuer_certificate = root_ca
cert.add_extension(ef.create_extension("keyUsage","digitalSignature", true))
cert.add_extension(ef.create_extension("subjectKeyIdentifier","hash",false))
cert.sign(root_key, OpenSSL::Digest::SHA256.new)

File.open("root.key", "w") do |file|
  file.write(root_key.to_pem)
end
File.open("root.crt", "w") do |file|
  file.write(root_ca.to_pem)
end

File.open("bosun.key", "w") do |file|
  file.write(key.to_pem)
end
File.open("bosun.crt", "w") do |file|
  file.write(cert.to_pem)
end
Setup Nginx in Docker
Dockerfile
FROM nginx
ADD ssl /etc/nginx/ssl
ADD sites /etc/nginx/sites
ADD nginx.conf /etc/nginx/nginx.conf
This is my normal nginx setup. Nothing special here.
siites/bosun.conf
upstream bosun {
  server 192.168.1.1:5000;
}

server {
  listen 443 ssl;

  ssl on;
  ssl_certificate /etc/nginx/ssl/bosun.crt;
  ssl_certificate_key /etc/nginx/ssl/bosun.key;

  location / {
    proxy_set_header X-Forwarded-For $proxy_add_x_forwarded_for;
    proxy_set_header X-Forwarded-Proto https;
    proxy_set_header Host $http_host;
    proxy_redirect off;
    proxy_pass http://bosun;
  }

  client_max_body_size 4G;
  keepalive_timeout 10;
  server_tokens off;

  add_header Strict-Transport-Security "max-age=31536000; includeSubDomains; preload";
}
In this, the only thing that needs to specially pointed out is the upstream needs to point at your ip address or wherever the server lives.
Build and Start Nginx
docker build -t nginx-ssl .
docker run -t -i -p 4443:443 nginx-ssl
Connecting via Faraday
require 'faraday'
require 'json'
require 'openssl'

store = OpenSSL::X509::Store.new
store.add_file("root.pem")

connection = Faraday.new('https://localhost:4443', {
  :ssl => {
    :cert_store => store,
  }
})
To setup faraday, you need to create a custom certificate store that contains the root.pem file. After the connection is created with the right certificate store, everything just works.
This is also a neat way to get a green SSL bar without having to pay. You can install your new root certificate in your browser and not have trust issues warning you about continuing. This is primarily useful for small side projects that only you will be visiting as anyone without the root certificate trusted will still see warnings.
Posted on 14 Jul 2015
Having based my Raspberry Pi cluster on Arch Linux, I need to update the bramble fairly regularly. I have a weekly event on Sundays that reminds me to keep things up to date.
My updating process:
- Update all docker hosts
- Update all file system hosts
- Update the rest
Normally this is a very uneventful process as nothing breaks. Just in case something does though, I always try to have a “canary” raspberry pi that gets updated first and doesn’t have anything important on it. The last time I updated something did go wrong and I was very glad of this process.
Something went wrong
When I updated my canary pi nothing went wrong. Everything looked good. I continued on to update pis that had slightly more important things on it. Eventually I got to a pi that had a docker container on it.
After restarting to complete the update (the kernel was updated), I checked to see that all of the containers started. When they didn’t I noticed I couldn’t run any containers with a failure of “socket operation on non-socket”.
I found this docker issue on github and was able to downgrade to the previous docker I had installed. Everything was working again and I didn’t take down anything important.
Docker has since updated to 1.7.1 (not yet released, very soon) and fixed the issue.
Conclusion
Always be careful when running Arch as a server OS and make sure to have some sort of early warning system with updates.
Posted on 29 Jun 2015
I have recently switched over to GNOME 3 from XFCE and figured I give a few reasons why you should too. Before switching over I had only used GNOME 3 when it first launched and didn’t like it.
Reason 1: HiDPI support
The main reason I looked at GNOME 3 again was because I got a Lenovo Yoga 2 Pro last year and replaced Windows with Arch Linux. This laptop has a HiDPI screen (3200x1800 at 13”) and XFCE was virtually unreadable on it.
I stuck with XFCE for a while after I discovered you could scale the resolution in a display setting somewhere. This only sort of worked because it looked horrible. GNOME 3 handles HiDPI so much better, everything looks properly sized and there are no sections that have text being cut off.
Reason 2: Looks really nice
I really dig the new GNOME look that came in version 3.16. Everything looks very sleak to me. I also started liking the thick title bar, fits nicely in with everything else.
Calculator

This is a good place to start as every desktop should have a calculator. It also shows off the main GNOME theme Adwaita.
GNOME 3 file viewer

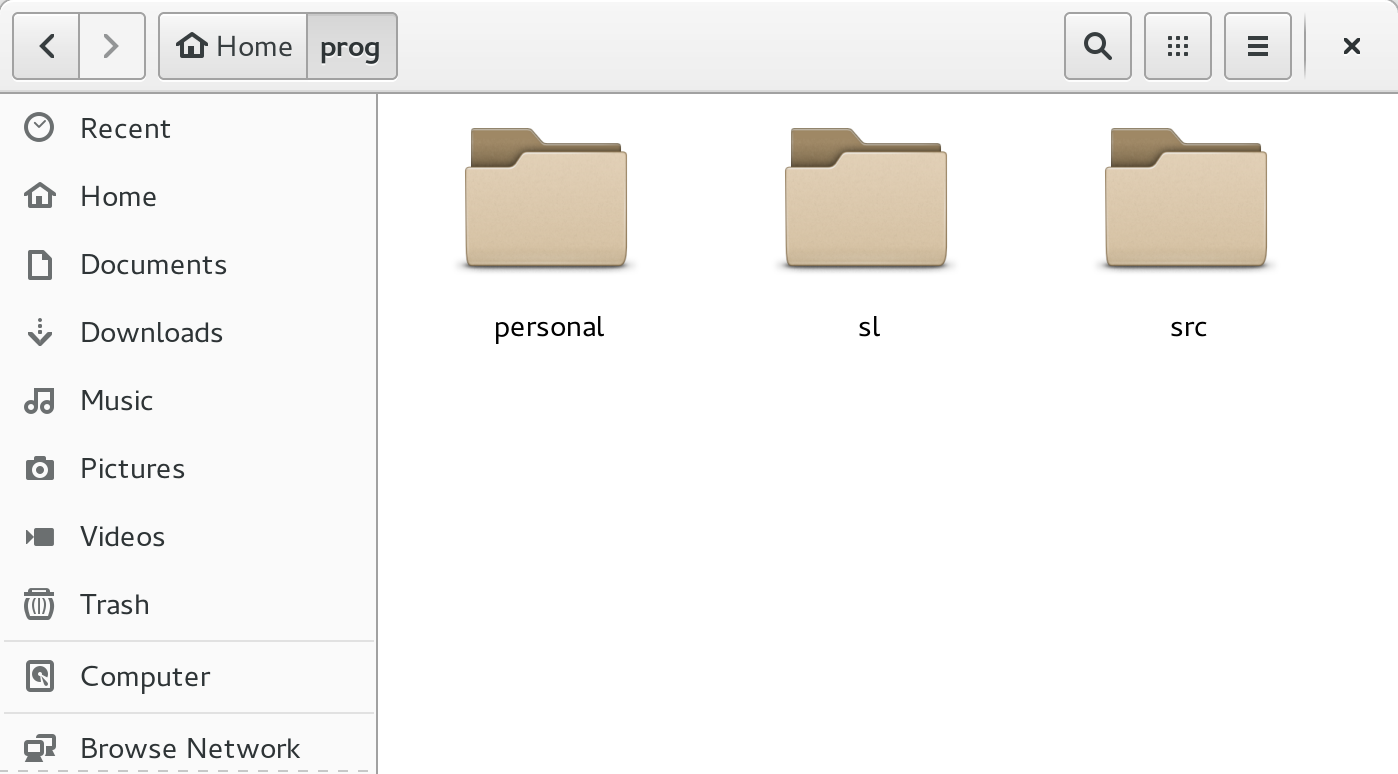
I want to show off the file viewer mainly because it handles HiDPI well. In XFCE you would only be able to see maybe the first 7 characters of a file name before it got cut off due to poor scaling.

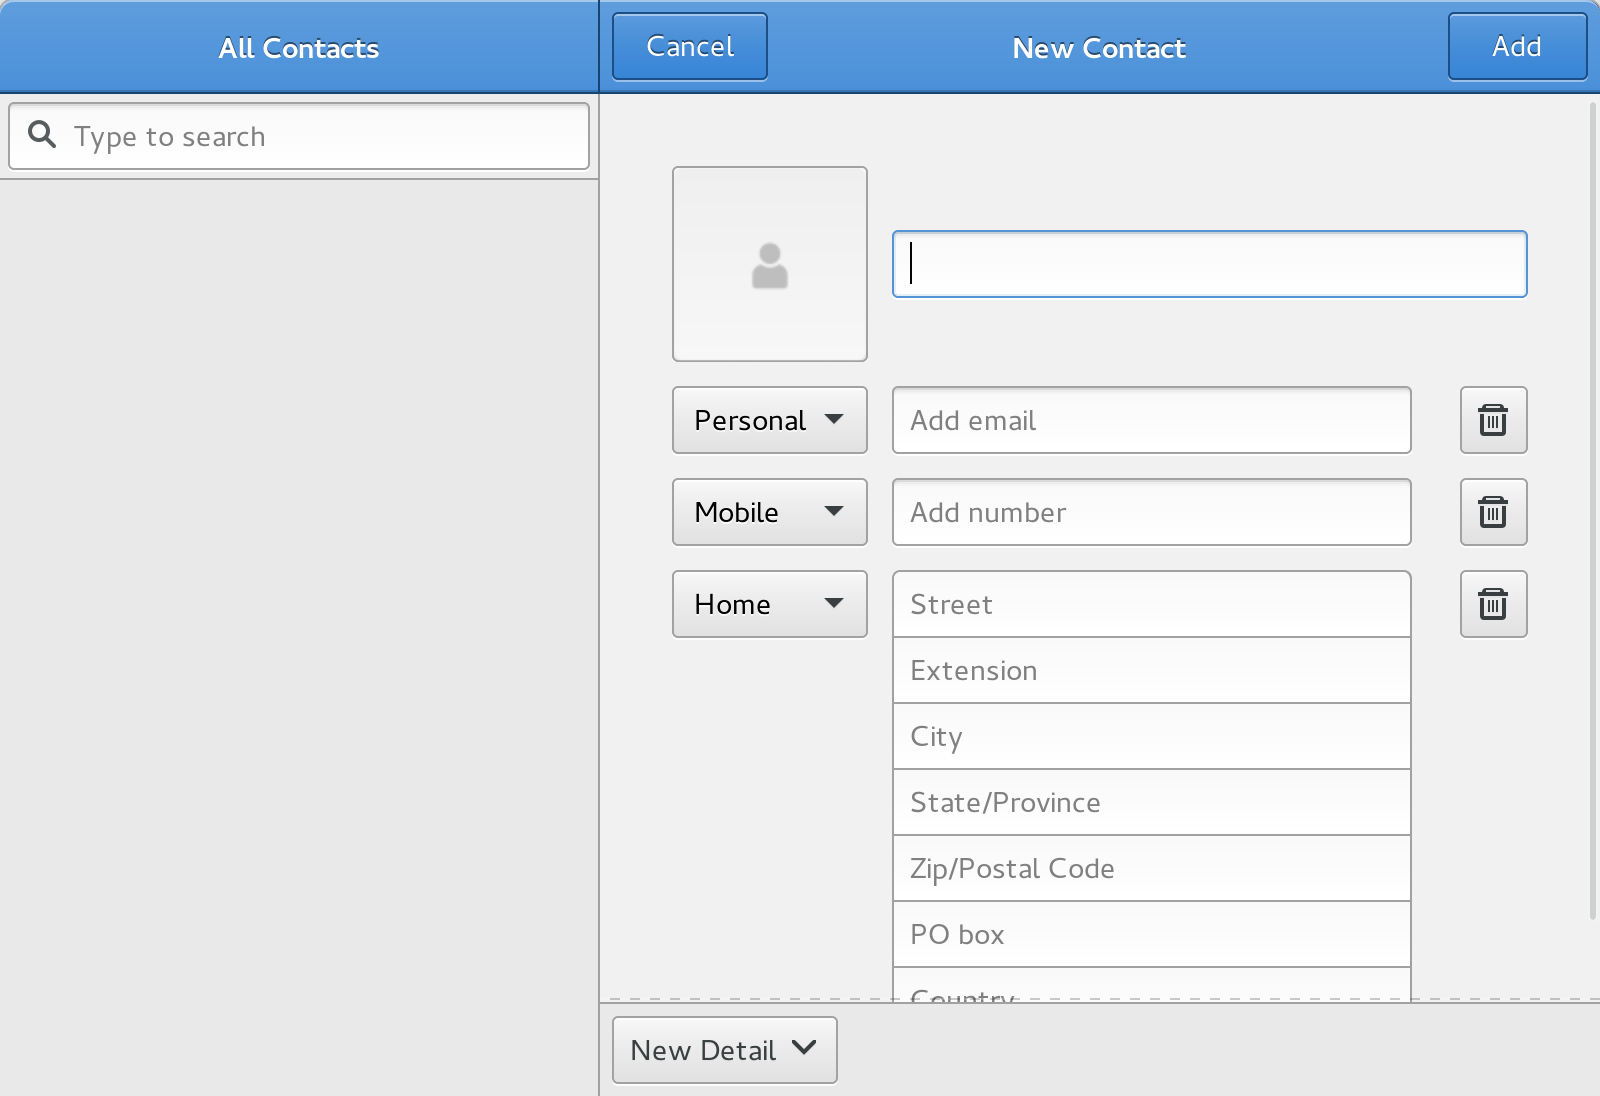
I don’t use this application, I wanted to show this one off mainly because it doesn’t have any of my data in it. This is just to point out GNOME having a suite of applications that all sync to online accounts. I primarily use the Calendar application, but they also have email, photos, and maps.
Task switcher

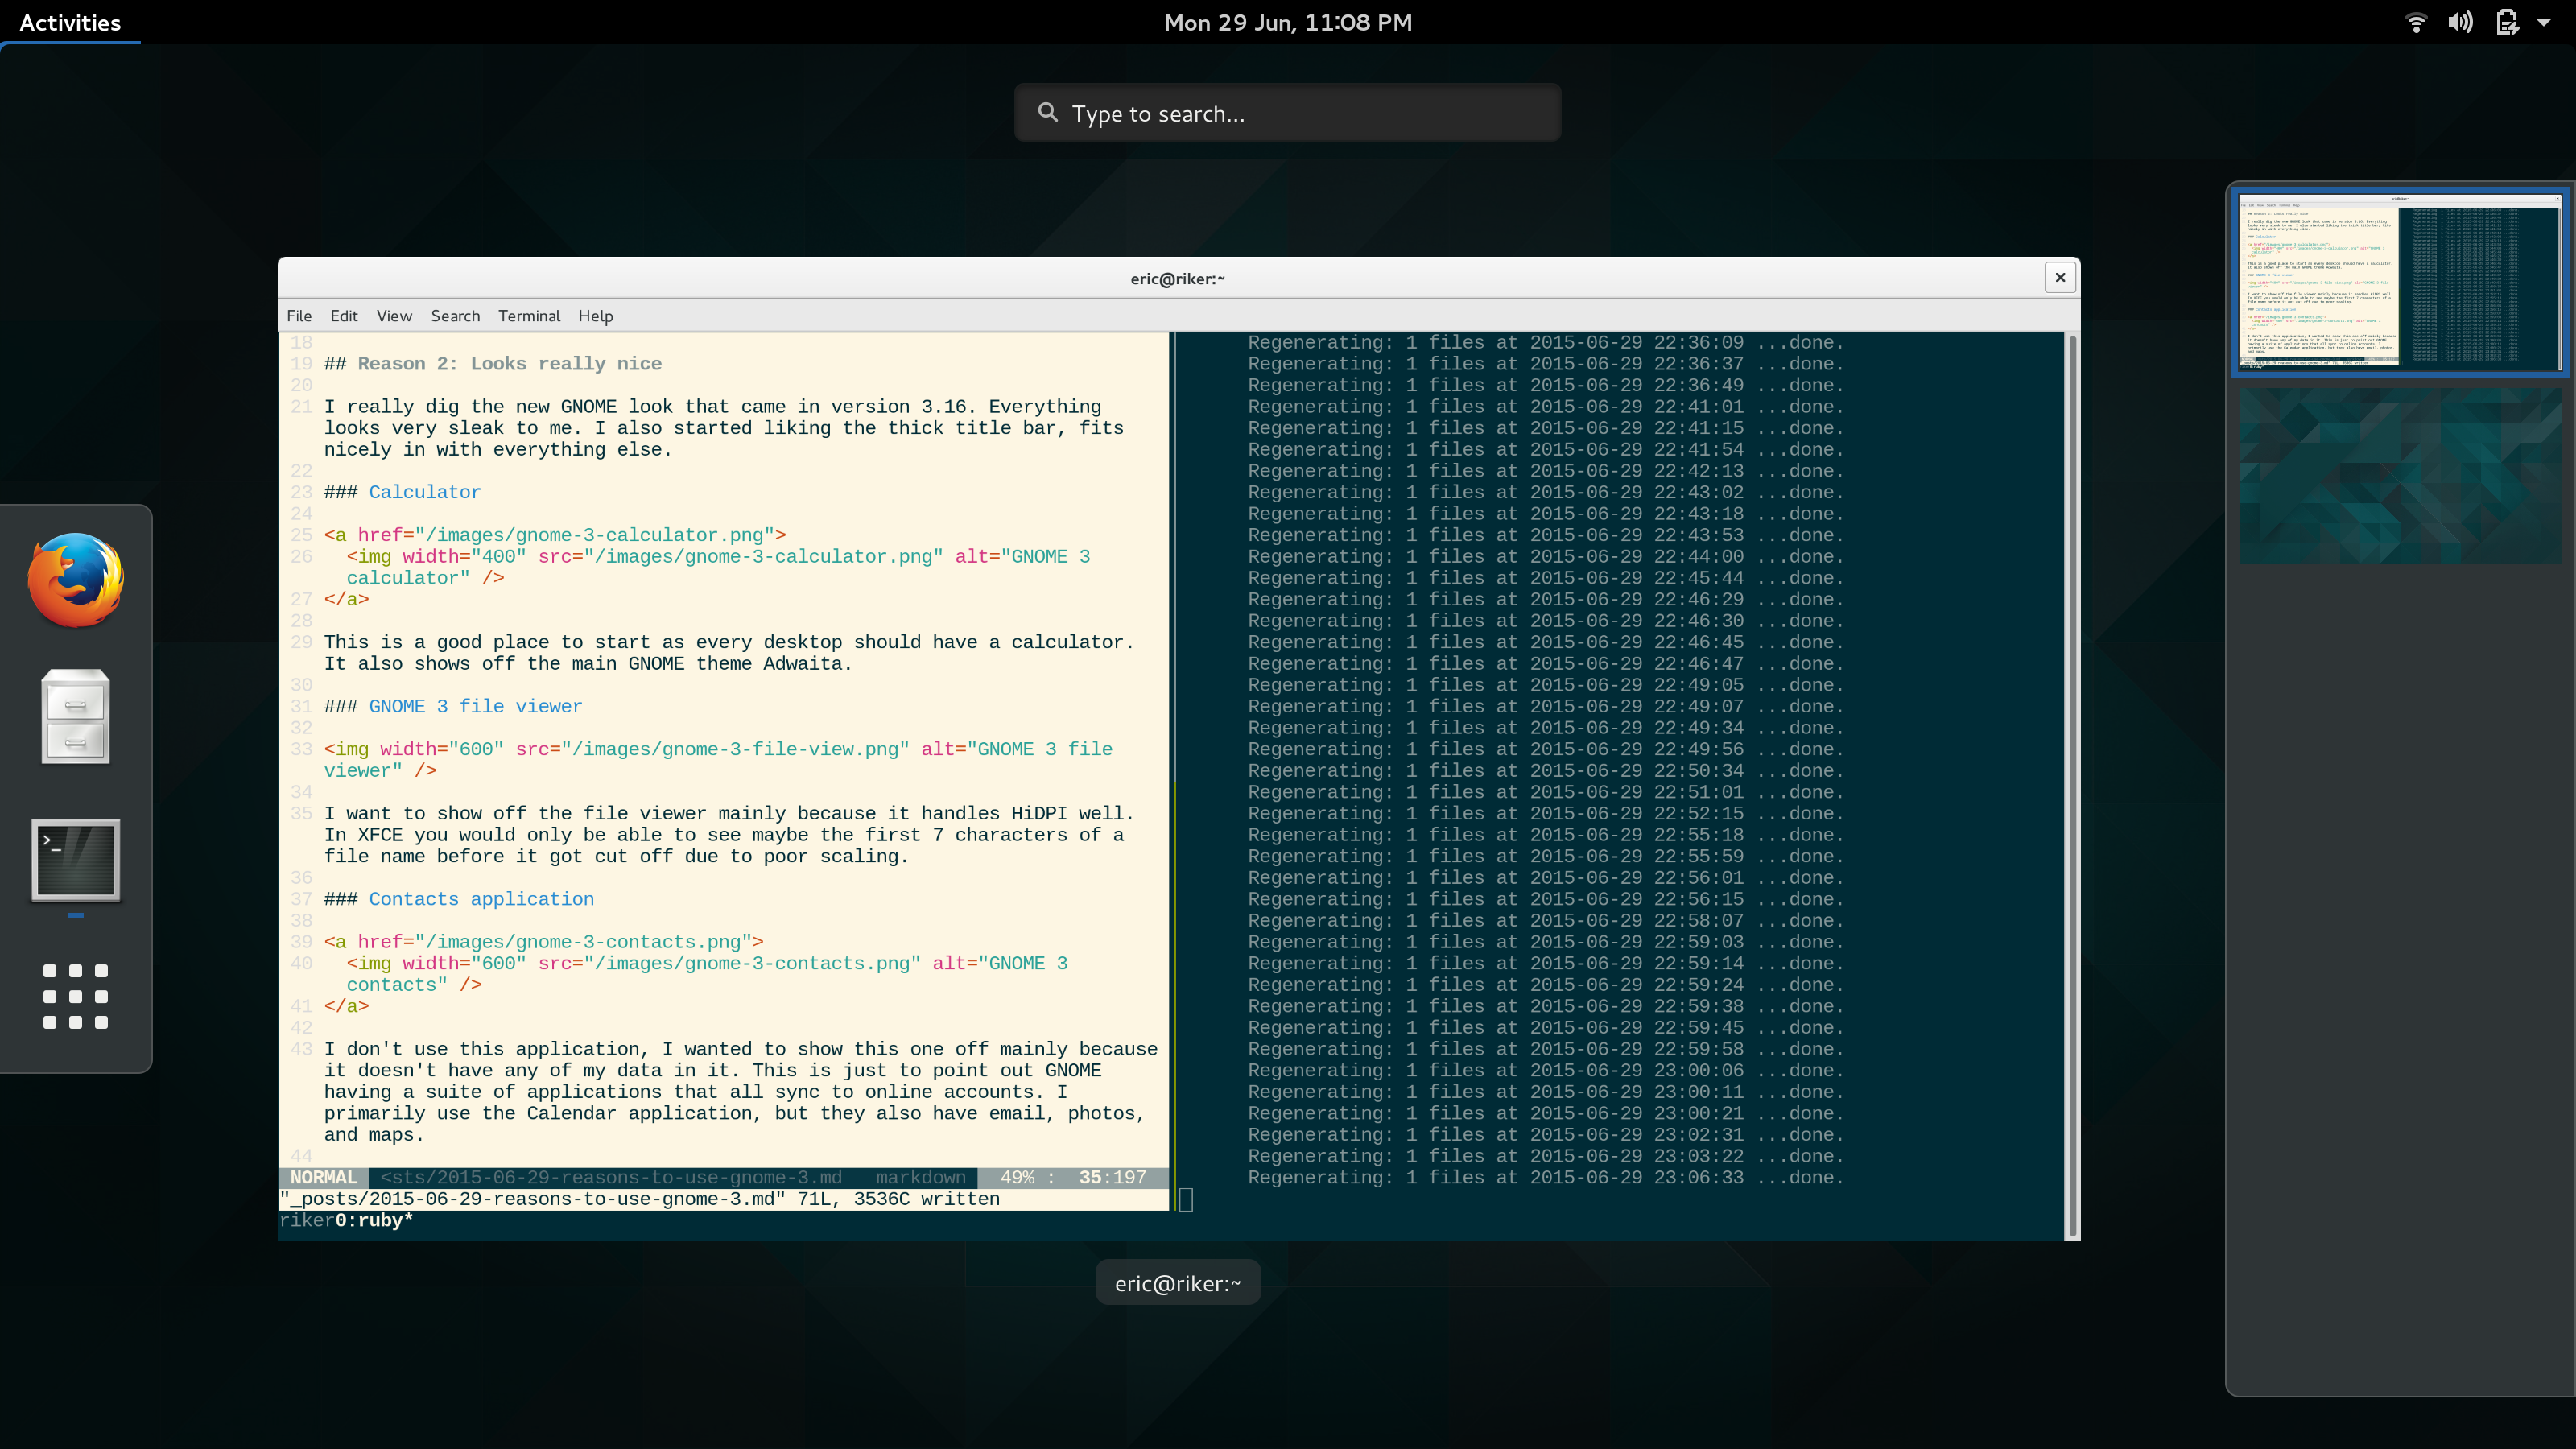
This view is brought up by hitting the meta (windows) key or moving the mouse to the upper left corner. I really like this view as you can see current applications and also search for a new one to launch.
Reason 3: Customizable again
When I first tried GNOME 3 it was very take it or leave it. Now you can customize the desktop very heavily. I have my pretty plain, but the options are still there. I personally only set static workplaces (which didn’t use to be a thing either) and the date time to be AM/PM.

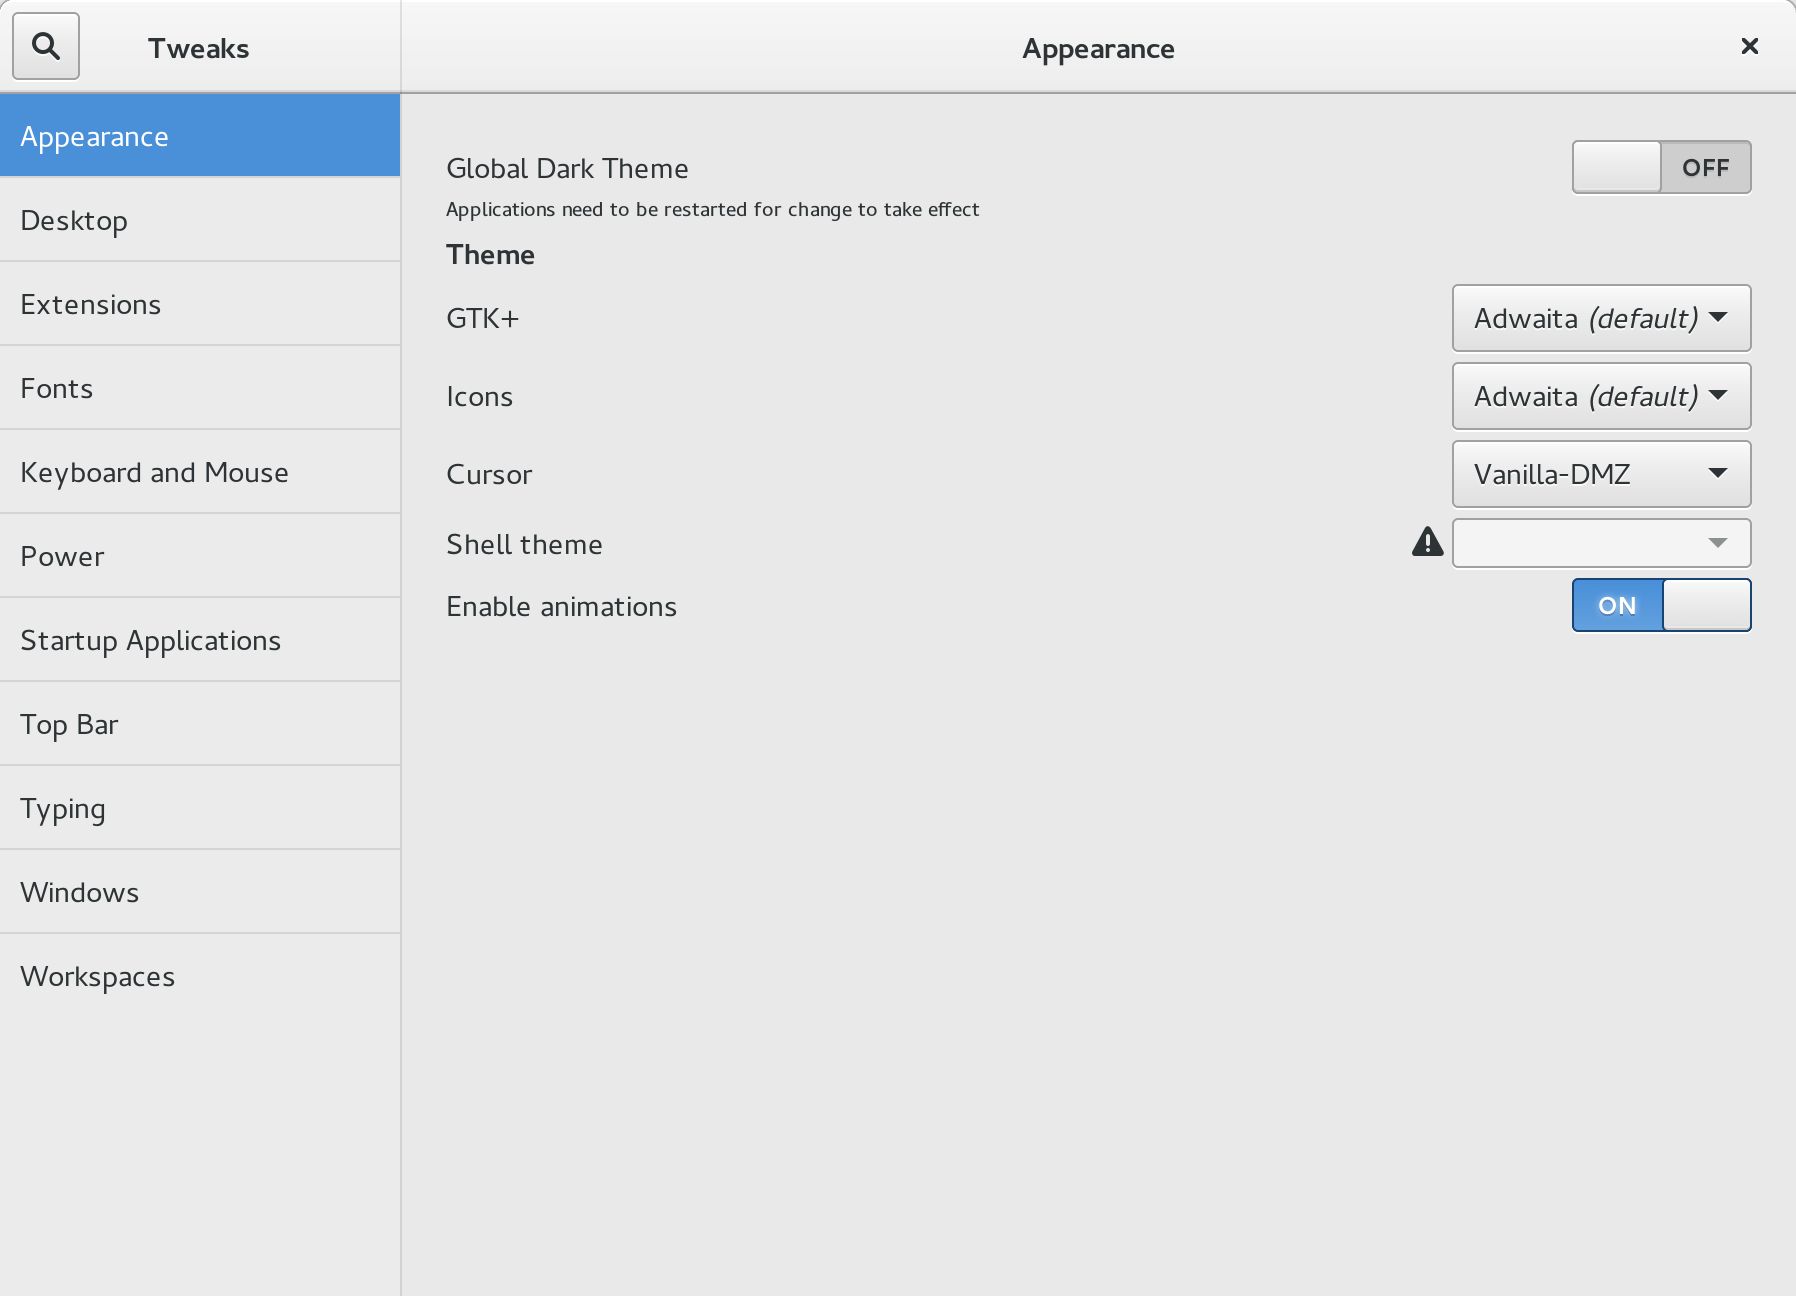
Tweak tool is what you’ll be using to alter GNOME 3 more than AM/PM from military time. There are seemingly hundreds of options to tweak, as well as extensions to install.
Bonus reason: Wifi Manager
When I was on XFCE I used wicd as the network stack. Moving to GNOME let me switch to Network Manager which has a really nice integration with the desktop. It sits up the top right corner and lets you easily switch networks.
Conclusion
My biggest take away with GNOME 3 is it feels like a solid, well integrated desktop. XFCE is great, but GNOME 3 is my new favorite desktop.
Posted on 15 Jun 2015
I’m doing a fun side project and found a use case for Server Sent Events. I found out about these last REST Fest and have wanted to use them since then. This is a small tutorial on how I got it going.
events_controller.rb
class EventsController < ApplicationController
  include ActionController::Live

  def index
    response.headers['Content-Type'] = 'text/event-stream'

    sse = SSE.new(response.stream)

    begin
      redis = AppContainer.redis.call
      redis.subscribe("events:#{current_user.id}") do |on|
        on.message do |channel, event_id|
          event = Event.find_by(:id => event_id)

          sse.write(event.data, {
            :event => event.event_type,
            :id => event.id,
          }) if event
        end
      end
    rescue ClientDisconnected
      # This will only occur on a write
    ensure
      sse.close
    end

    render :nothing => true
  end
end
This is the entire controller that sends events. First you need to include ActionController::Live to include the SSE class and ClientDisconnected class.
I’m using redis pub/sub (also my first time trying this out.) I have a channel per user and publish event ids into the channel. Whenever a new message comes in I write a new event to the stream.
With this it will come out similar to this:
event: event-title
id: a6ffe373-8fcc-46de-abd1-e48767c7856b
data: {"hello":"world"}
Events have two new lines after them to distinguish them from one another.
To publish a new event:
redis.publish("event:#{user.id}", event.id)
Drawbacks
I am using SSE outside of the browser and using a streaming http library to get load events. This works out well except for when the client disconnects. Rails only knows when the client disconnects after it tries writing to the stream.
My application currently doesn’t generate enough events for this to be detected for a fairly long time. This means sockets won’t get closed until a new event comes in. I would like to find a way around this as it will definitely die up resources.


